
HOW TO INSTALL A PARQUET FLOOR
Time:
2023-03-03
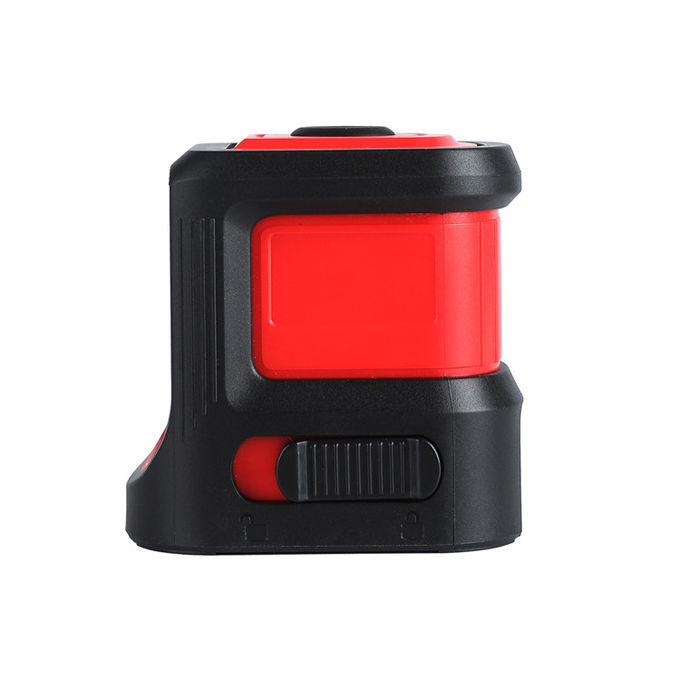
Using a laser level can be a useful tool for a variety of tasks, such as hanging pictures or shelves, installing tile, and laying out walls or floors. Here are some general steps to follow when using a laser level:
1.Choose the right type of laser level for your project: there are different types of laser levels available, including line laser levels, dot laser levels, rotary laser levels, and more. Make sure you select the right type of laser level for your specific project.
2.Set up the laser level: place the laser level on a stable surface or mount it on a tripod. Make sure the level is positioned at the appropriate height and angle for your project.
3.Turn on the laser level: some models may require batteries or charging, so make sure you have power available.
4.Adjust the laser level: use the built-in controls to adjust the laser level until it is level and pointing in the direction you need.
5.Use the laser level: depending on the type of laser level you are using, you may need to mark the laser lines or dots on your work surface, or use a laser detector to pick up the laser beam.
6.Check your work: double-check your measurements and use a spirit level to ensure that your work is level and accurate.
7.Remember to always read the instructions provided with your laser level before using it, and take appropriate safety precautions such as wearing protective eyewear.


SUBSCRIBE HERE FOR MORE DEALS,INSPIRATIONS AND DIY TRENDS

点击右上角
分享给朋友吧
Copyright © 2024 BCTEK Ltd. All Rights Reserved.
SUBSCRIBE HERE FOR MORE
DEALS,INSPIRATIONS AND
DIY TRENDS
点击右上角
分享给朋友吧
Copyright © 2024 BCTEK Ltd. All Rights Reserved.
